At the end of the day, a Raspberry Pi is a tiny computer that can be used for many of the same purposes as a personal computer: browsing the internet, gaming, storing data, and more. Additionally, like any computer, it can be configured to act as a server such as a Minecraft server, NAS, or web server. Because of these varied uses, Raspberry Pi OS can be installed in two main ways: with a traditional operating system (OS) that includes a graphical user interface (GUI), or as a headless OS, where the Raspberry Pi is operated remotely from another computer. That might sound crazy, but running it headlessly has some important advantages.
What Does Headless Mean?
The term headless literally means without a head, but in computing, it refers to a system that runs without a monitor, keyboard, or mouse connected. In the context of the Raspberry Pi, it means the device is set up and configured to be used remotely, typically through an SSH connection from another computer.
Why headless?
The answer is simple: efficiency. Running your Pi without a GUI allows it to boot faster, frees up more RAM and CPU for your tasks, and even reduces power consumption slightly.
Installing Raspberry Pi OS Lite
The official installation procedure can be found here
This guide will walk you through the steps to set up a Raspberry Pi OS Lite on your Raspberry Pi without needing a monitor or keyboard. This is particularly useful for projects where you want to run the Pi as a server or for automation tasks.
Requirements
- Raspberry pi
- Power supply for your raspberry pi:
- A computer (to boot the micro SD and connect to the raspberry pi via ssh)
- Micro SD card 16GB or higher
- Internet connection
1. Booting Raspberry Pi OS to the Micro SD
-
Connect your micro SD to the computer.
-
Install and launch Raspberry Pi Imager
-
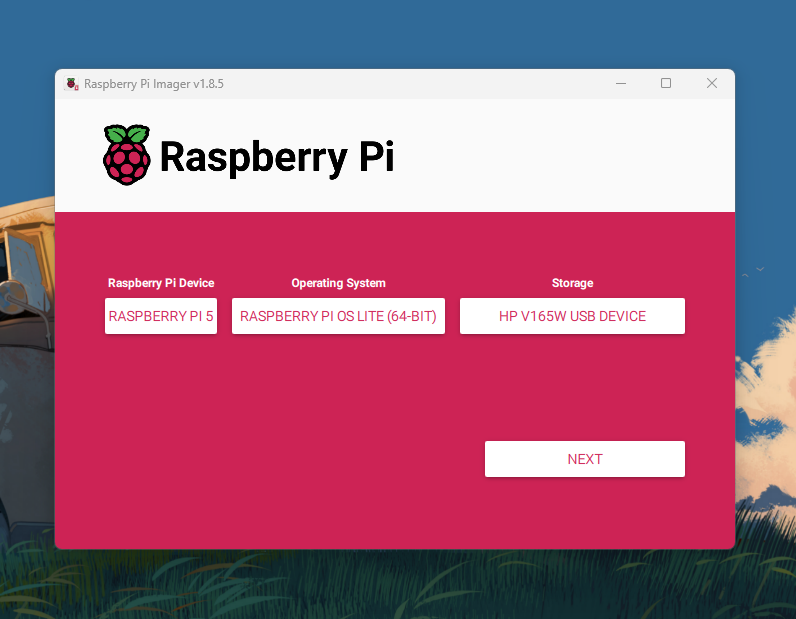
Select the device, Raspberry pi OS LITE, and the storage device (your micro SD card):
-
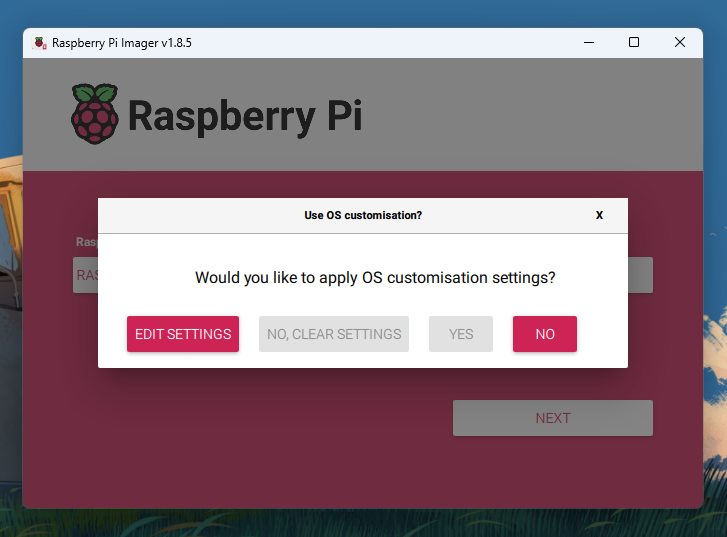
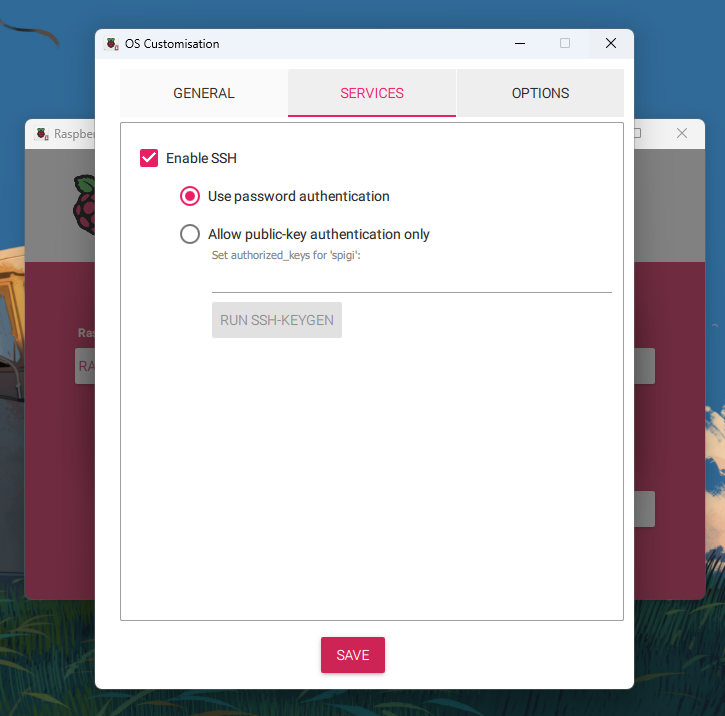
Edit settings:
-
Set usernam and password and the wireless settings

-
Enable SSH:
-
Save and Start booting the microSD, it will take around 5 minutes depending on your computer
2. Connect your Raspberry Pi to the power supply
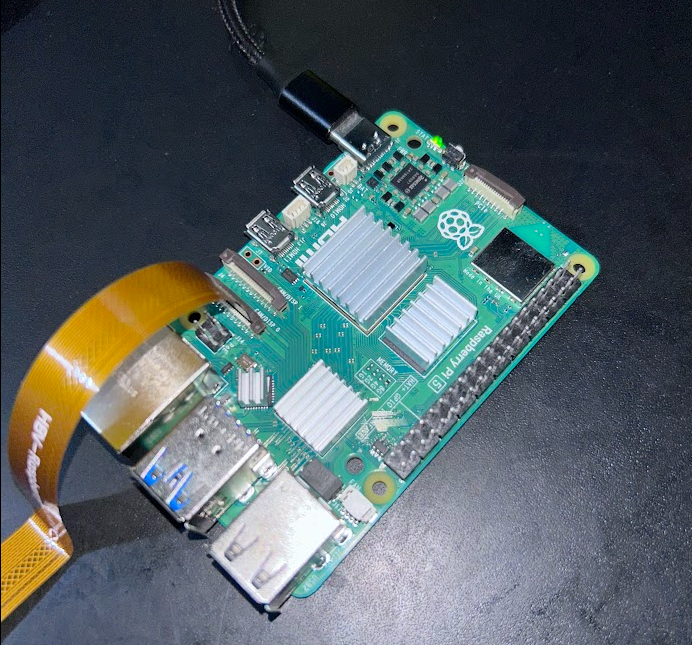 When connecting it the Raspberry Pi will automatically turn on. You know its turning on when it has a green light. In case it has a red light press the button near the power supply to turn it on.
It takes approximately 3 minutes to turn on
3. Connect to your Raspberry Pi via SSH
If everything went well in the previous steps we can now connect via ssh. In case you are in Windows open the PowerShell, in Linux or MacOs just open the terminal.
-
Check the raspberry pi ip address in your local router. Visit the admin website of your router to check the connected devices and spot your Raspberry Pi IP address. In my case my router url is: http://192.168.18.1/

The name of the host that we define, or by default
raspberrypi, will indicate the local ip address, in my case its 192.168.18.134 -
Run the ssh command:
ssh <user>@<ip address> For example:
ssh spigi@192.168.18.134 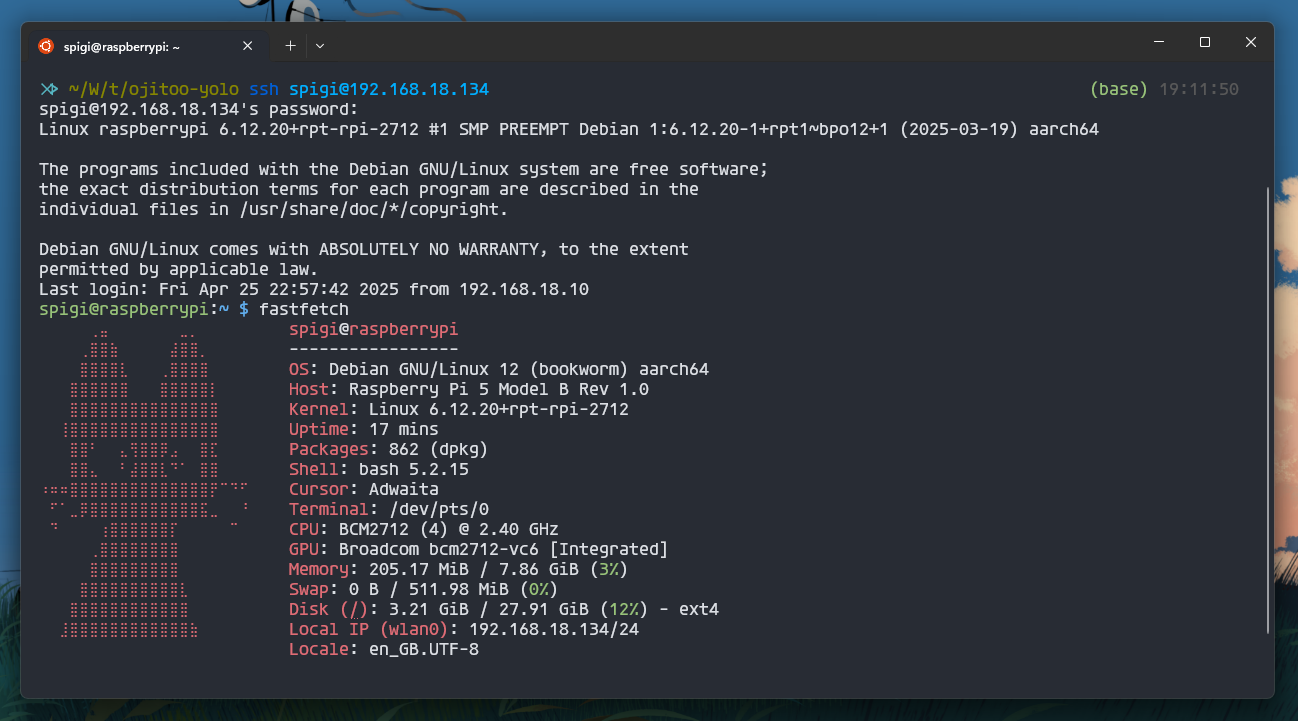
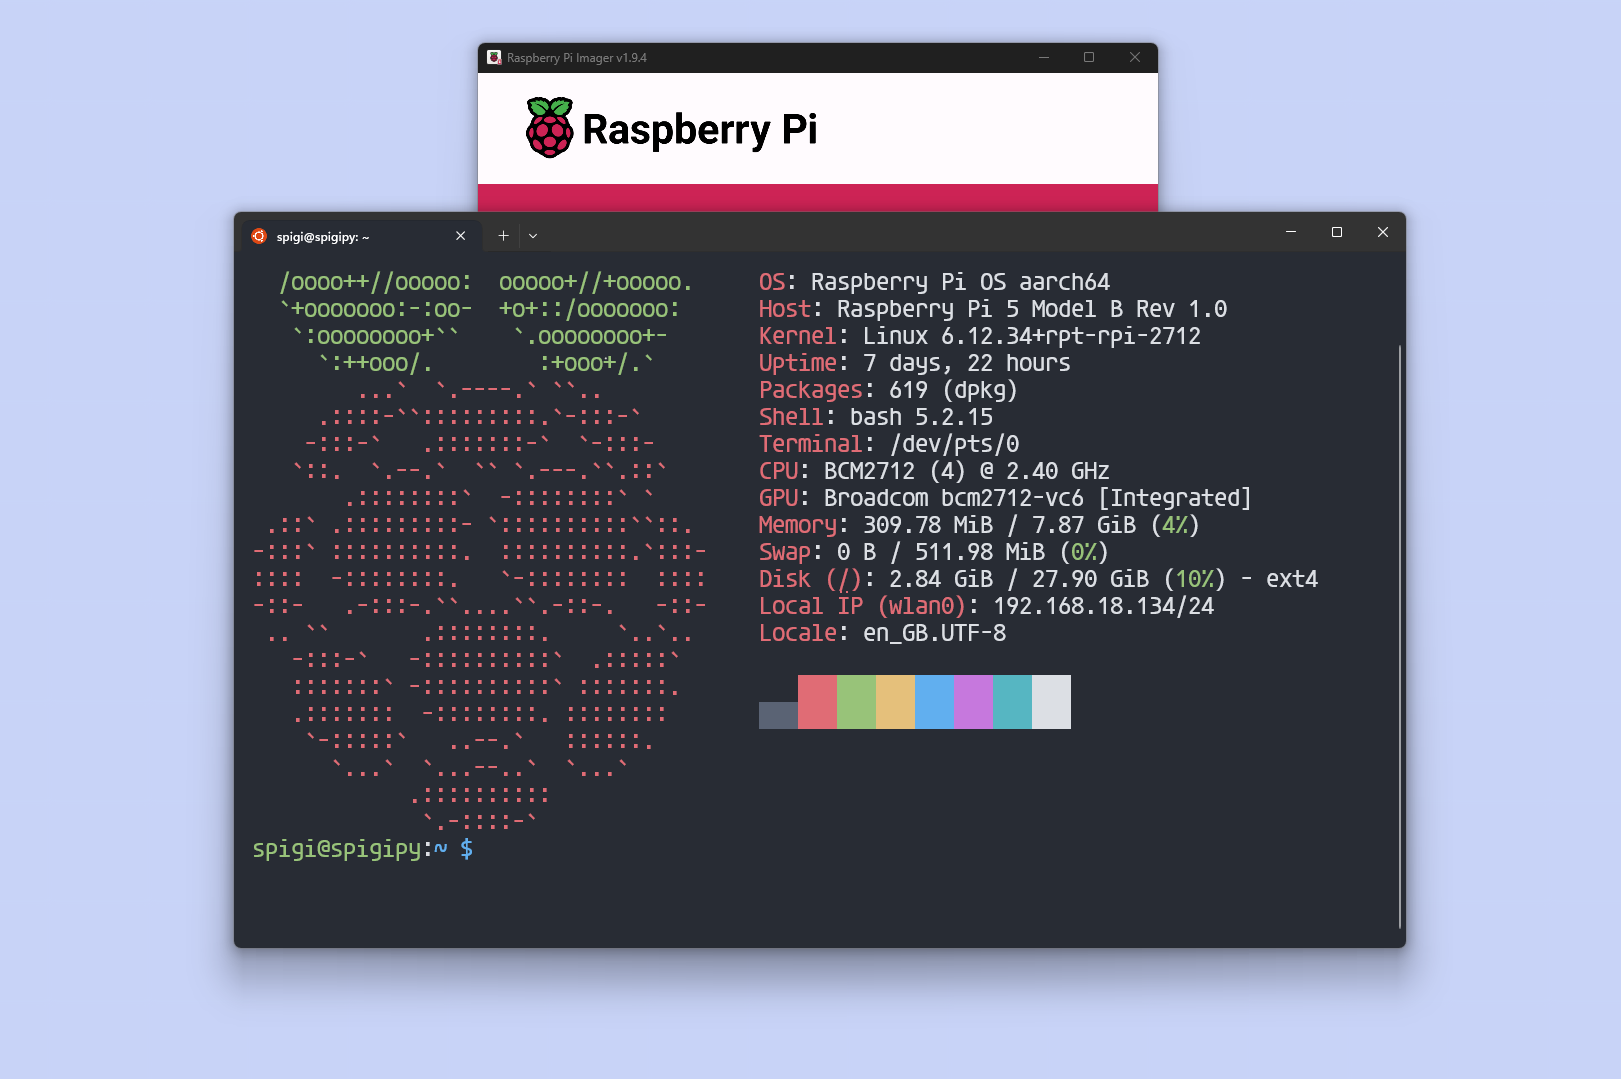
And that’s it! You are now connected to your Raspberry Pi via SSH.
Bonus
You can check my video tutorial on YouTube (in Spanish):